How to add the Sovol SV06-Plus 3D Printer Profile to Cura Slicing Software

I recently purchased the Sovol SV06-Plus 3D printer for a 4th-grade classroom and we ran into issues on the first few prints. After some trial and error, we realized the issue was related to the Ultimaker Cura slicing software configuration.
Sovol provides a version of the Cura software but is five versions back and only for Windows users. For the rest of us, I guess the thought is that we need to figure it out. That’s a bit frustrating. Luckily after multiple trials and bad prints, I came across a post on Reddit that showed how to add the SV06-Plus profile to the latest Ultimaker Cura slicing software. So far I’ve had success. To make sure others find this information I’ve written a graphical version of the original directions. If you are tech-savvy, take a look at the original it’s quite easy.
Tutorial
This tutorial is broken up into two parts. First, for absolute beginners, it goes through the installation process. If you already have the latest version of Ultimaker Cura installed skip to the Adding The Sovol SV06-Plus Profile section.

Hardware Information
Cura Version 5 + Sovol SV06 Plus
Official Website: https://sovol3d.com/products/sovol-sv06-plus

Test on the following computer systems
- MacOS Ventura 13.3, Apple M2
- Windows 10
- Windows 11
- Ubuntu Linux
Cura Software Install
This tutorial is using MacOS on an M2
1) Go to: https://ultimaker.com/
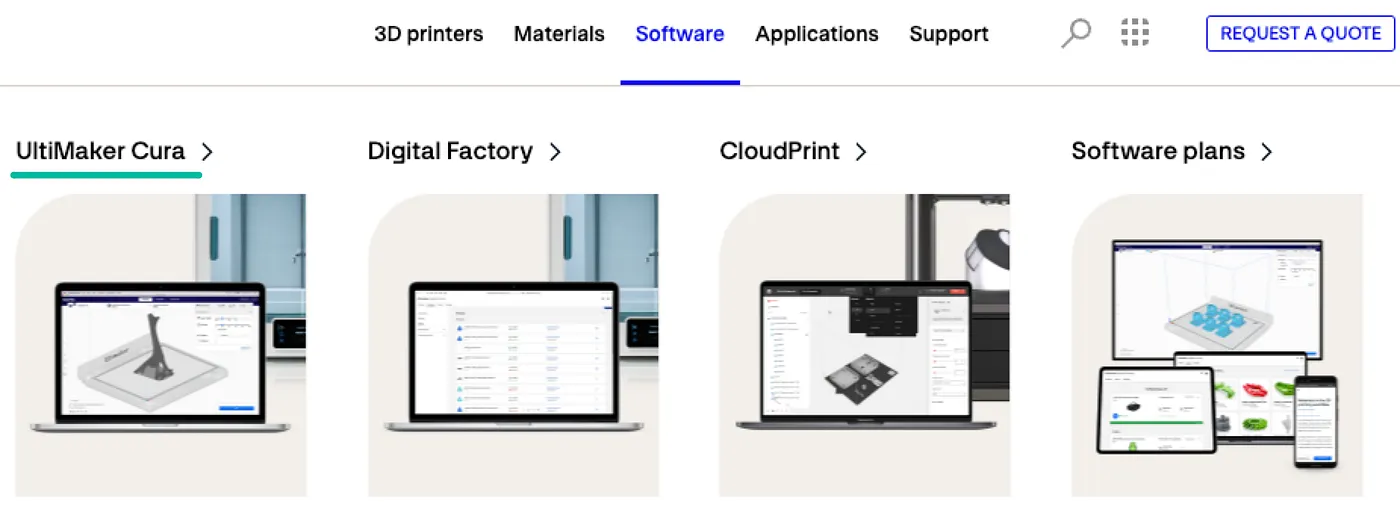
2) In the navigation hover over Software and select: Ultimaker Cura
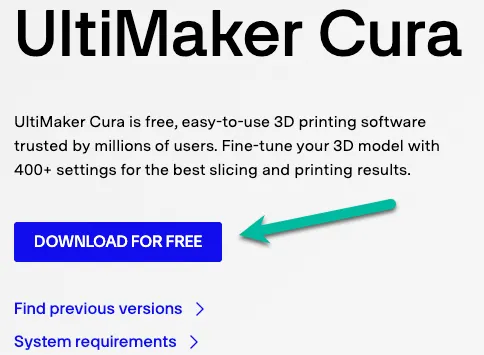
3) Next, select the Download For Free button.
4) Select your operating system.
5) It should begin downloading a file titled: UltiMaker-Cura-#.#.#-
| Operating System | File Format |
|---|---|
| Mac OS | .dmg or .pkg |
| Windows | .exe or .msi |
| Linux | .AppImage |
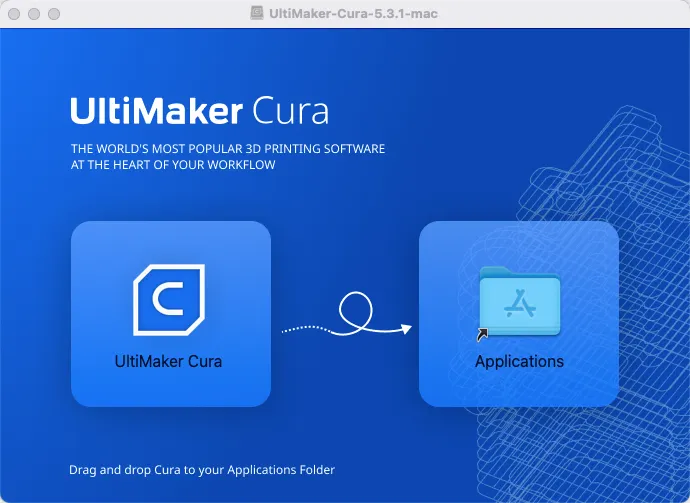
6) Double-click on the .dmg file to install it.
7) A window will pop up. Agree to the terms and continue the installation
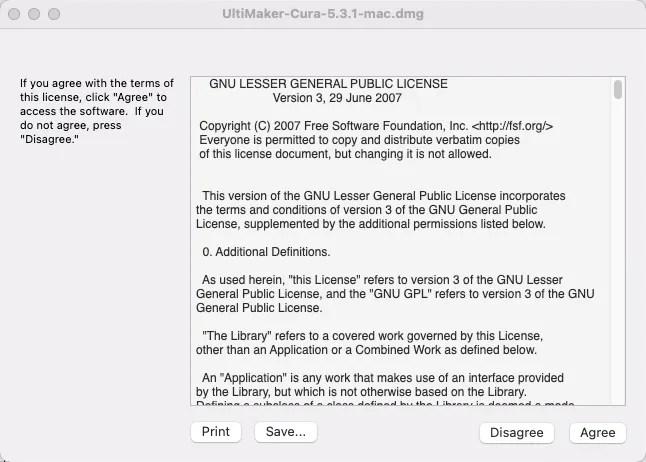
8) A window will pop up. Agree to the terms and continue the installation
9) You may see a progress bar, depending on the speed of your computer.

10) Close the installation pop-up windows from step 8.
11) Open the *Ultimaker Cura8 application
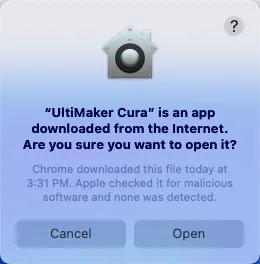
12) You may get a pop-up asking if you really want to open Cura. Stating, it is an app downloaded from the Internet. Click: Open
13) The first time you open Cura up you will likely see a Get Started button.
14) Click it and Agree!
15) Click Next.
16) Finally, Ultimaker will ask if you want to [Skip], [Create a free Ultimaker Account], or [Sign In]. For this tutorial, we will be selecting [Skip] for now.

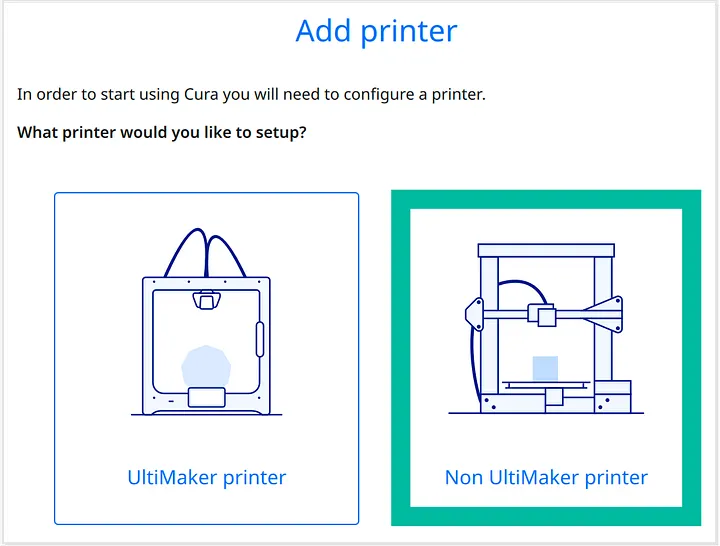
17) Next, it will ask you to Add Printer. Since we haven’t imported the profile configuration file for the SVO6 Plus, we will just create a temporary custom printer.
18) Select: Non-UltiMaker printer
19) This time, select: Add a non-networked printer

20) Next, you will see a list of brands with UltiMaker selected. Scroll down to the next brand which is Custom and select: Custom FFF
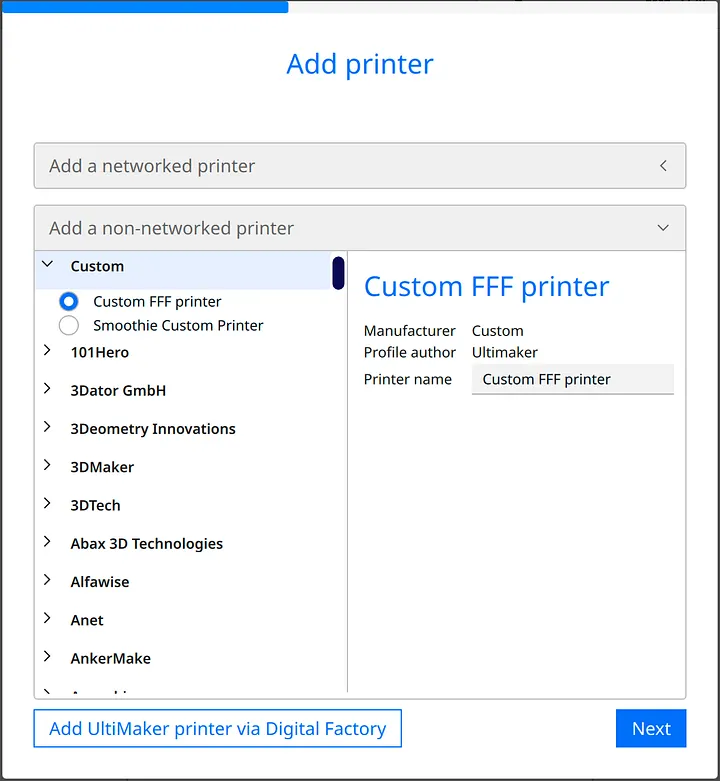
21) Don’t name this printer because we will be removing it once we have added the SV06 Plus printer. For now, click: [Next]
22) For the Machine Settings click [Next]
23) Click Skip for What’s New
24) Finally, select: [Finish]
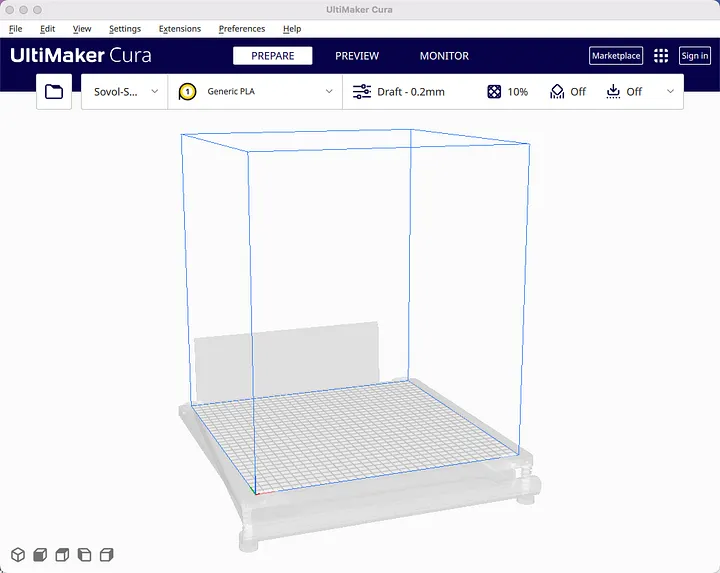
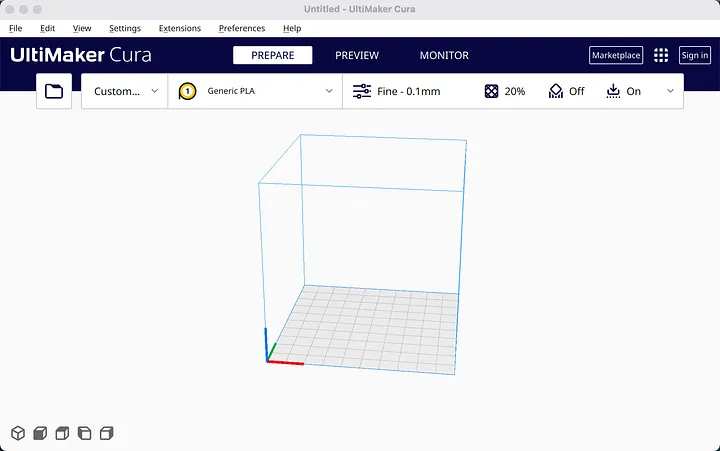
25) You should now see the Cura application window. Something like the screenshot below.
Adding The Sovol SV06-Plus Profile
First off, I want to say thank you to the Reddit user: vgergo for providing the files and the original instruction. Original Reddit Post — He made a detailed tutorial to better understand Cura Profiles.
1) Download the following zip folder: Sovol SV06 Plus Configuration Files.zip
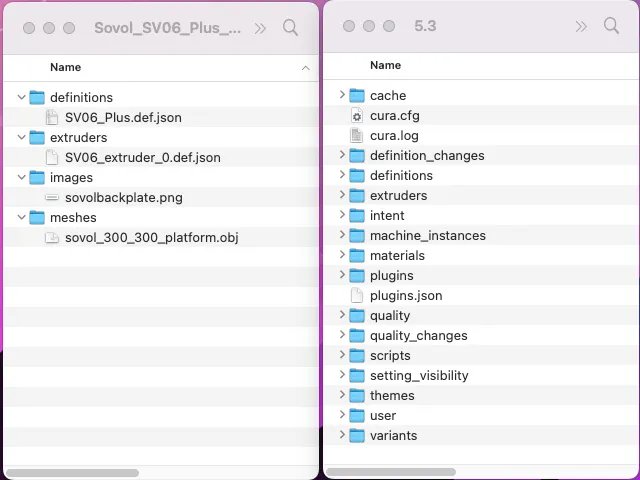
2) Now extract/unzip the folder. The extracted folder should contain the following folders and files.
definition > SV06_Plus.def.json
extruders  > SV06_extruder_0.def.json
images     > sovolbackplate.png
meshes     > sovol_300_300_platform.obj
3) Make sure Cura is running / open.
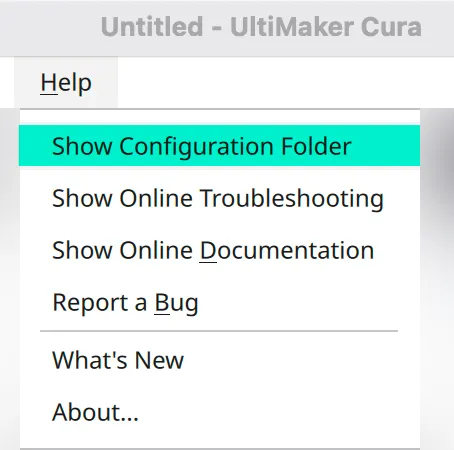
4) In the top navigation find and select: Help
5) drop-down will appear. Select: Show Configuration Folder
6) You should now see the directory where all your Cura configuration files are stored.
!!! DONT DELETE ANYTHING — UNLESS YOU WAN TO RE-INSTALL CURA AGAIN !!!
7) Move your extracted/unzipped folder next to the Cura configuration folder.
8) Next, Either Drag-n-Drop the files or Copy and Paste them.

# The images and meshes folders do not exist until you copy them over.

COPY  '/images' to '/5.3/images'
COPY  '/meshes' to '/5.3/meshes'
9) Close the Cura application and then open it back up.
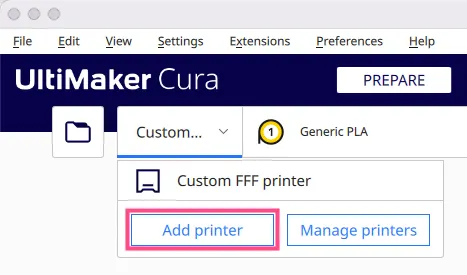
10) Let’s + add a new Sovol SV06 Plus printer.
2 Options to add a new printer
- Either click on the [Custom] button
- In the top navigation select: Settings > Printer > Add Printer
11) Now just like before select: Non Ultimaker Printer
12) Then Add a non-networked printer
13) Scroll-down until you see the brand Sovol and expand it. You should now see the Sovol SV06 Plus in the list of printers.
More than one Sovol SV06 Plus
If you see more than one of the SV06 Plus printer profiles. Do not worry. Select the one from "Sovol"
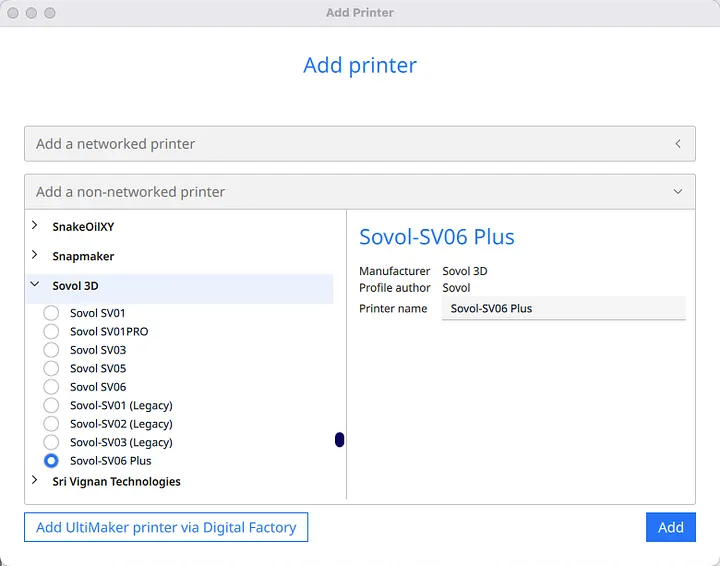
14) Selecting it will give it the same name. Then click [Add]
15) You should now see a custom build platform with a possible 3D bottom.
Windows machines will display the Sovol brand logo